This article has links to products and services we love, which we may make commission from.
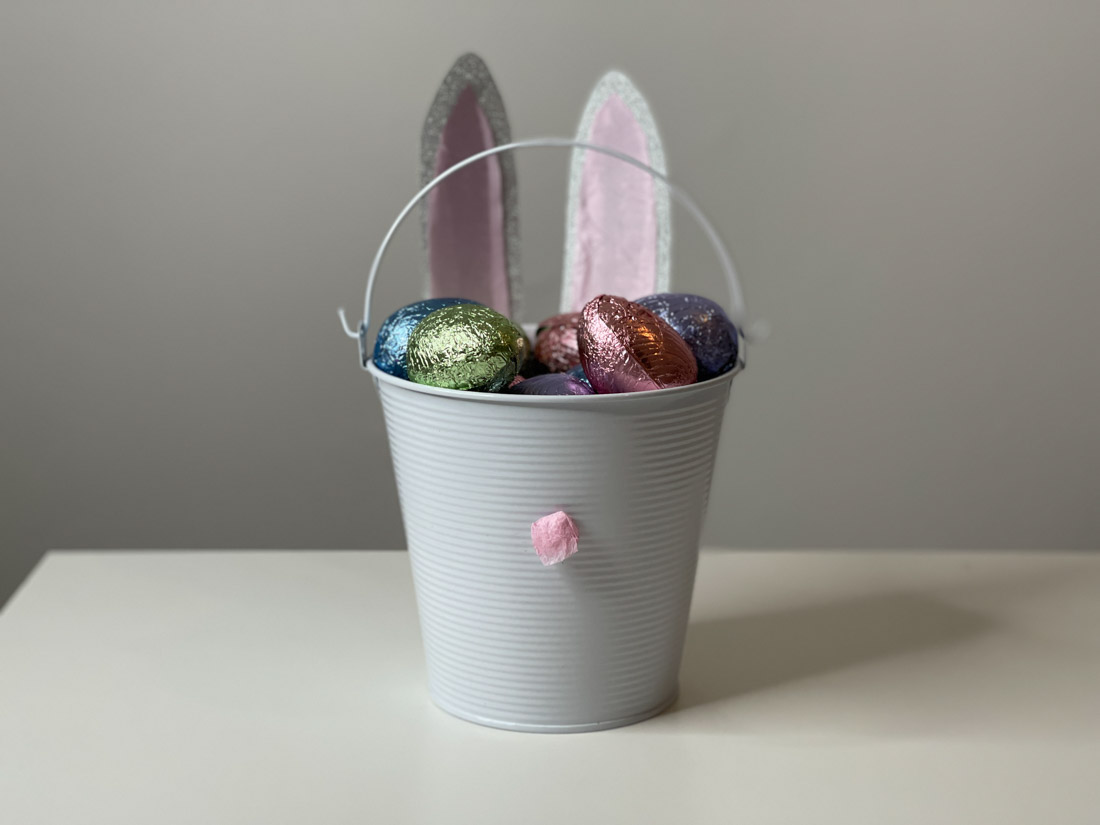
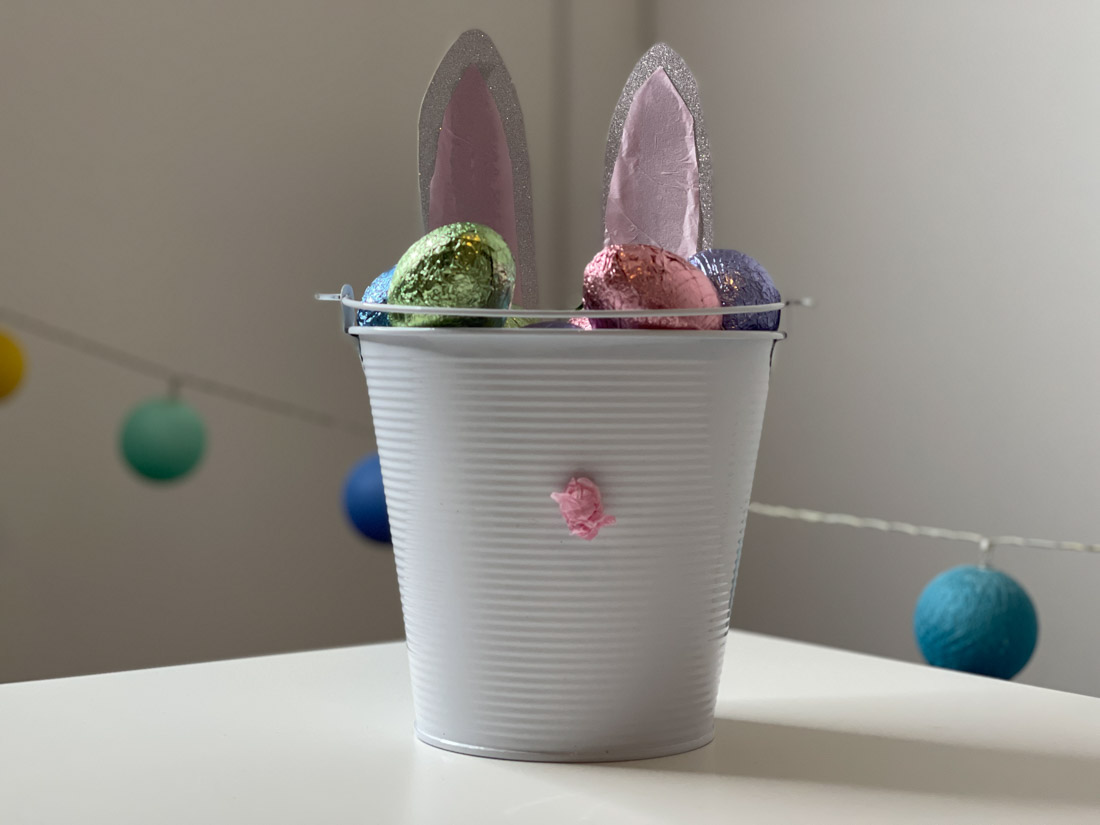
Practical and adorable, DIY Easter Bunny Buckets are a cute way to display Easter gifts for kids! Not only do they look the part, but they are also straightforward to assemble. All you need is some card, tissue paper, scissors, glue, tape, putty (Blu Tack), a pencil, a ruler and a bucket, of course.
Easy Easter Bunny Bucket DIY Ideas
This guide will detail instructions on how to create the bunny bucket ears, a shopping list for every item you need to create the bucket and what to do if you don’t have one!
Bunny Ears Instructions
Making bunny ears from scratch is actually pretty straightforward, so don’t let the fact you have to craft for this DIY bunny idea put you off.
Grab a piece of A4 card; it doesn’t have to be glittery like our example.
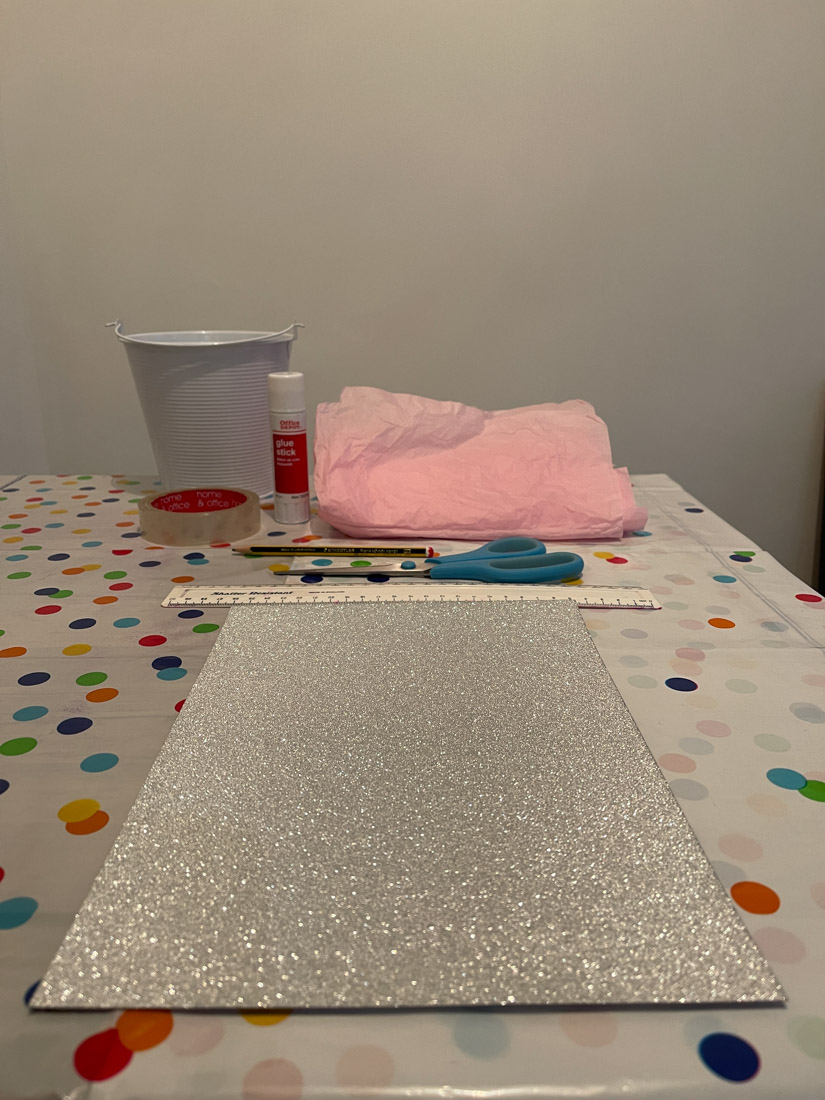
Fold it in half like a book and cut the fold.
If you don’t have scissors handy, you can draw your fingernails along the fold to flatten the edge.
Place a ruler inside the fold and carefully cut the card using the edge of the ruler.
Set aside the extra card. You are not going to use it unless you make a mistake.
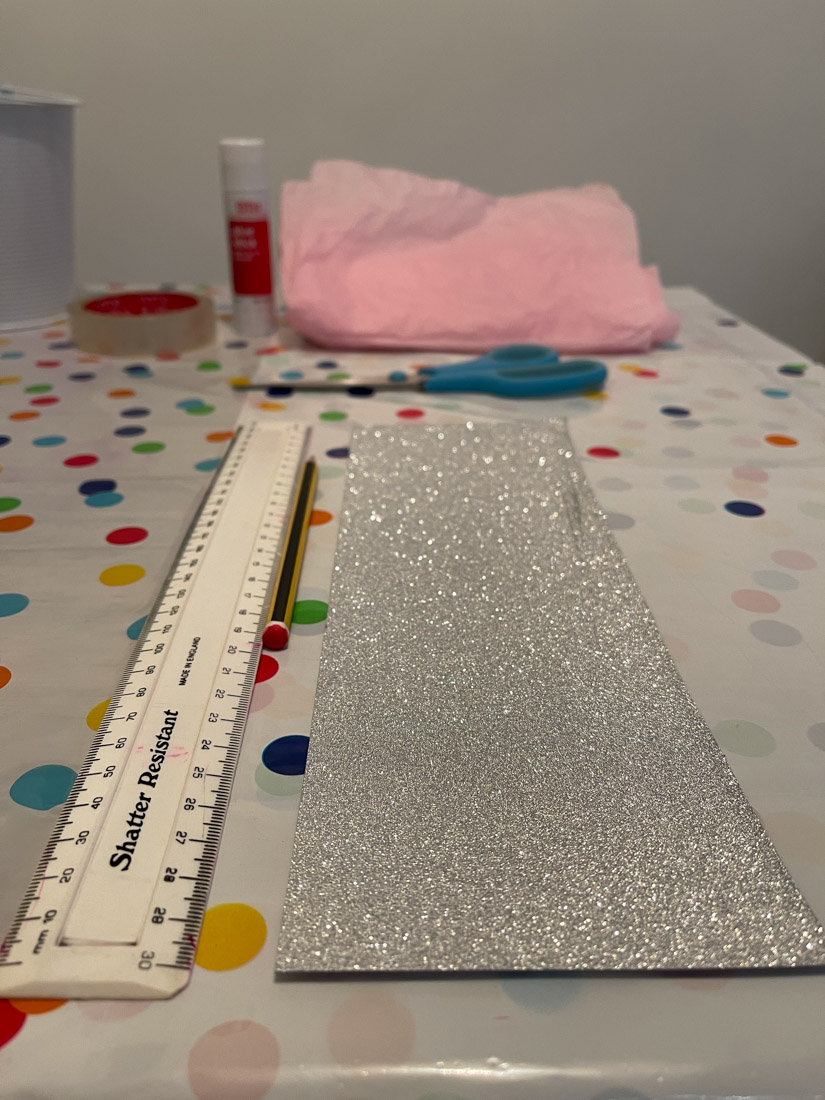
Place the card portrait (vertical) in front of you. You are going to make your two bunny ears from this half of A4 card.
Half the card like a book again and cut it. You now have two rectangles to create bunny ears.
The perfect ear length for my bucket was half of the length of the A4 card which you can see in the image below.
If this works for your bucket too, fold and cut the card.
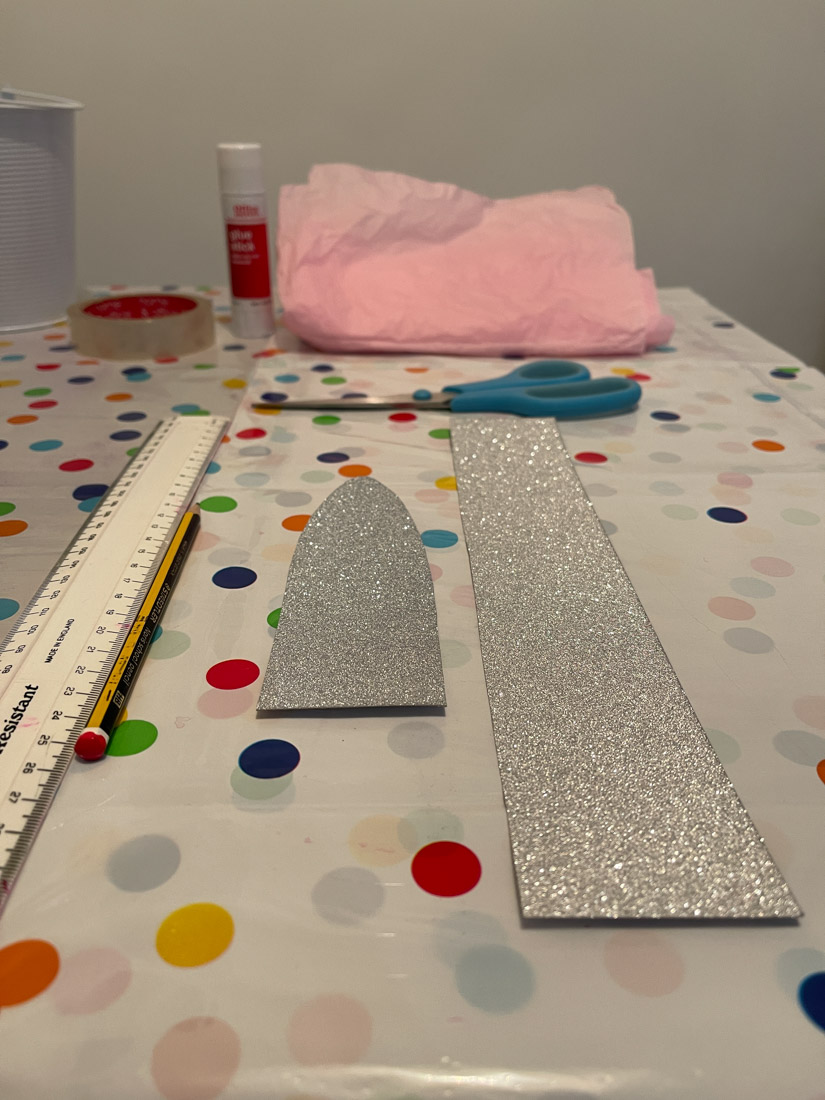
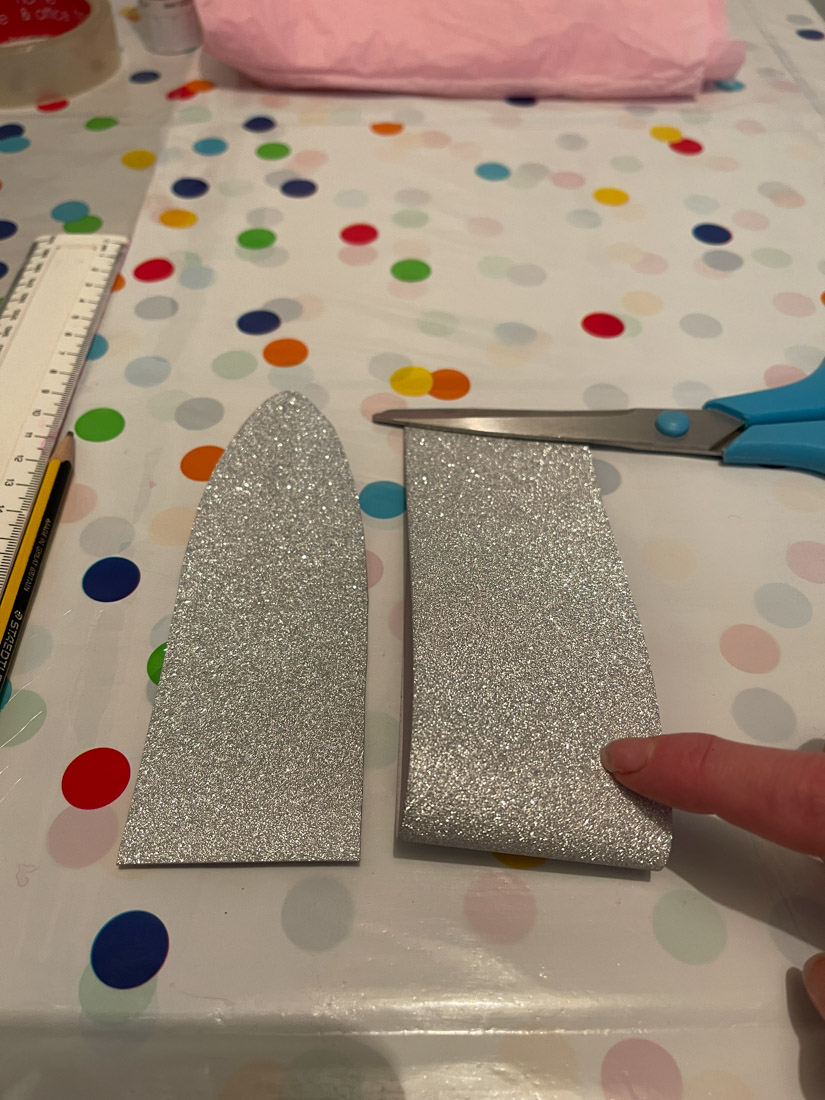
Flip the card over to the side that will not be seen.
Using a ruler or your eye, measure the middle (width) and make a pencil mark.
Draw a light line from the top to around half way down. This does not have to be exact.
Roughly draw a shape of the ear’s outline from the top to the side (or side to the top) and repeat on the other side. It should look similar to a candle flame. It does not have to be perfect.
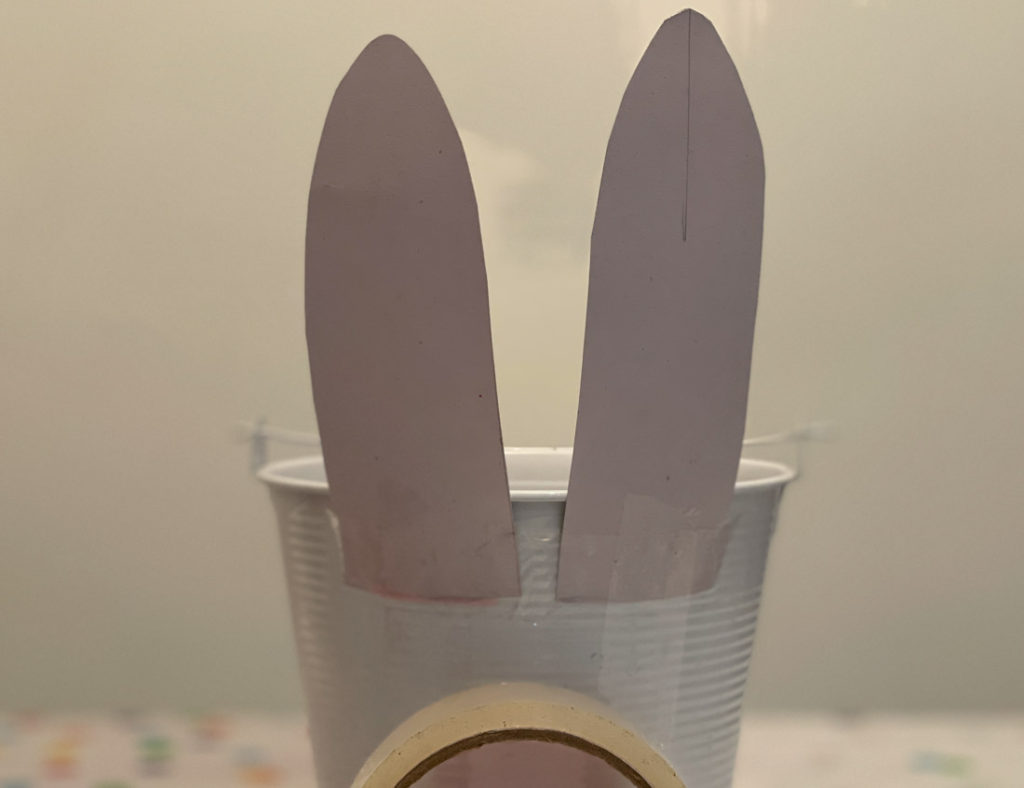
Cut out the ear and check that it looks Easter bunny ear enough for your liking.
Use ear number one as a template for ear number two.
Now you have two bunny ears.
How To Make The Inner Ears
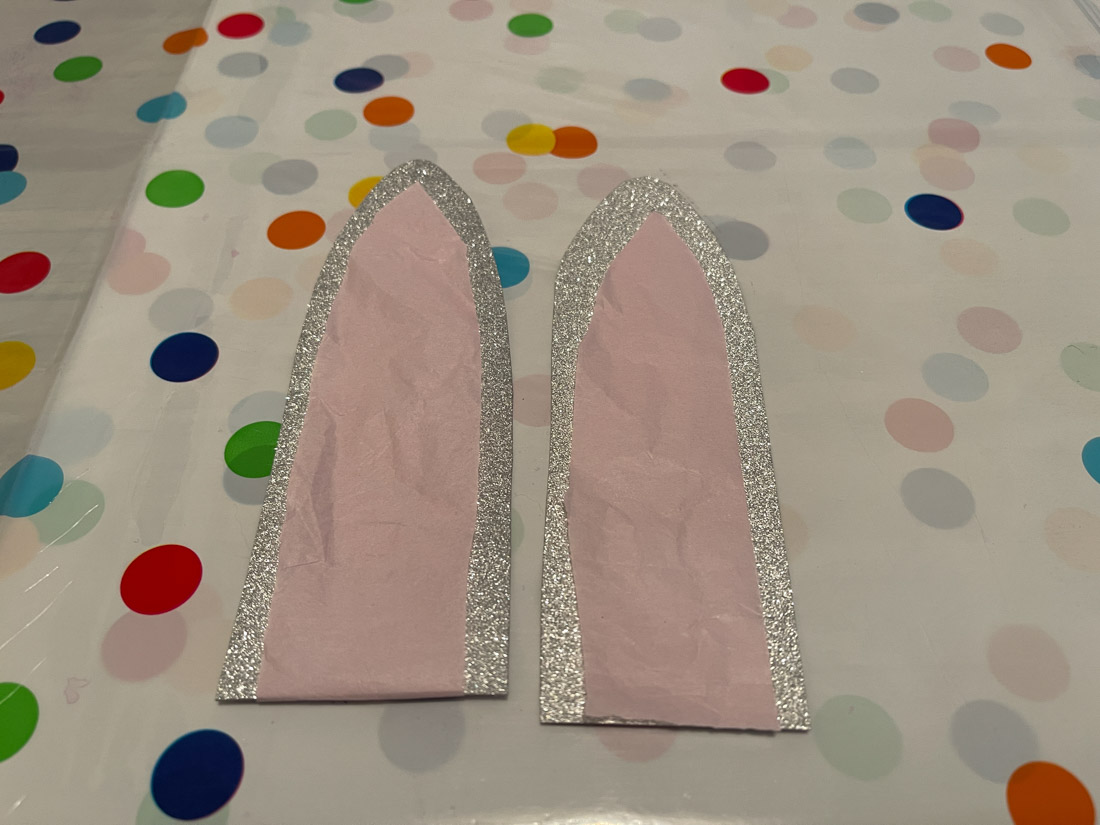
If you want an inner ear, grab some more paper, we used pink tissue paper for this part.
Use one of the ears as a template and cut out the inner ear.
Now carve into the inner ear to make it leaner and shorter, so it fits inside the ear.
Glue in place.
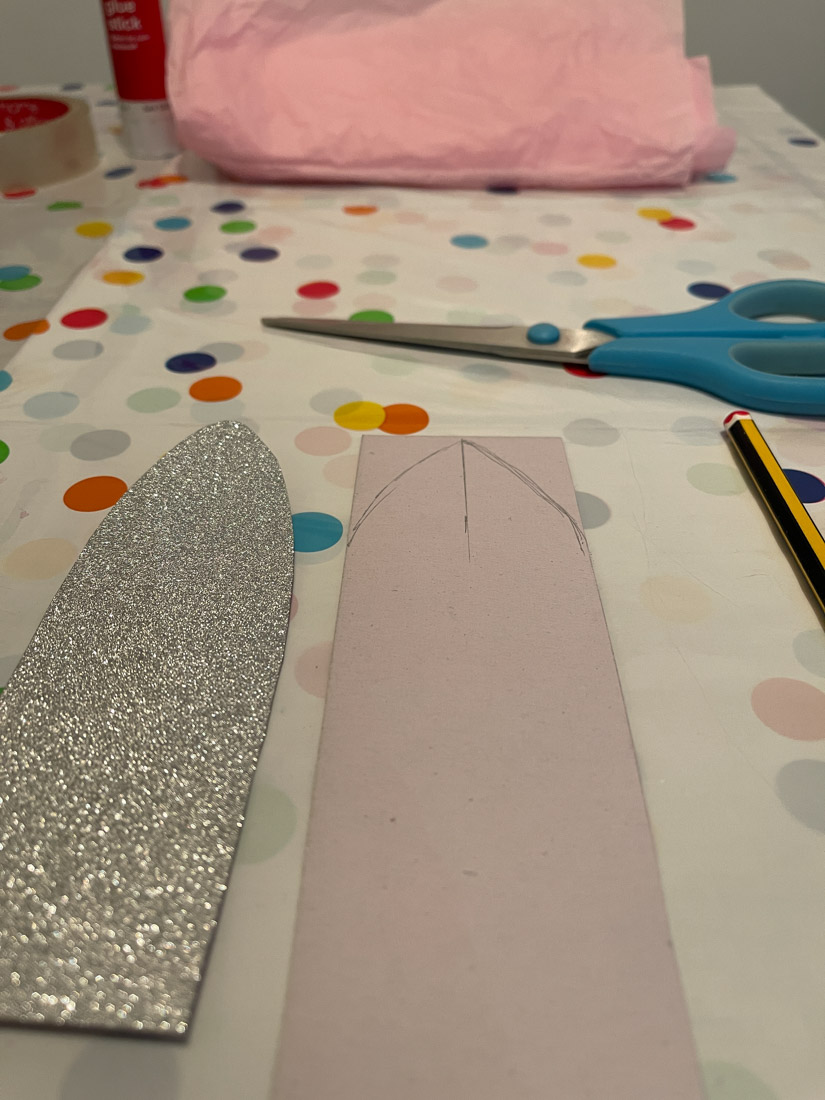
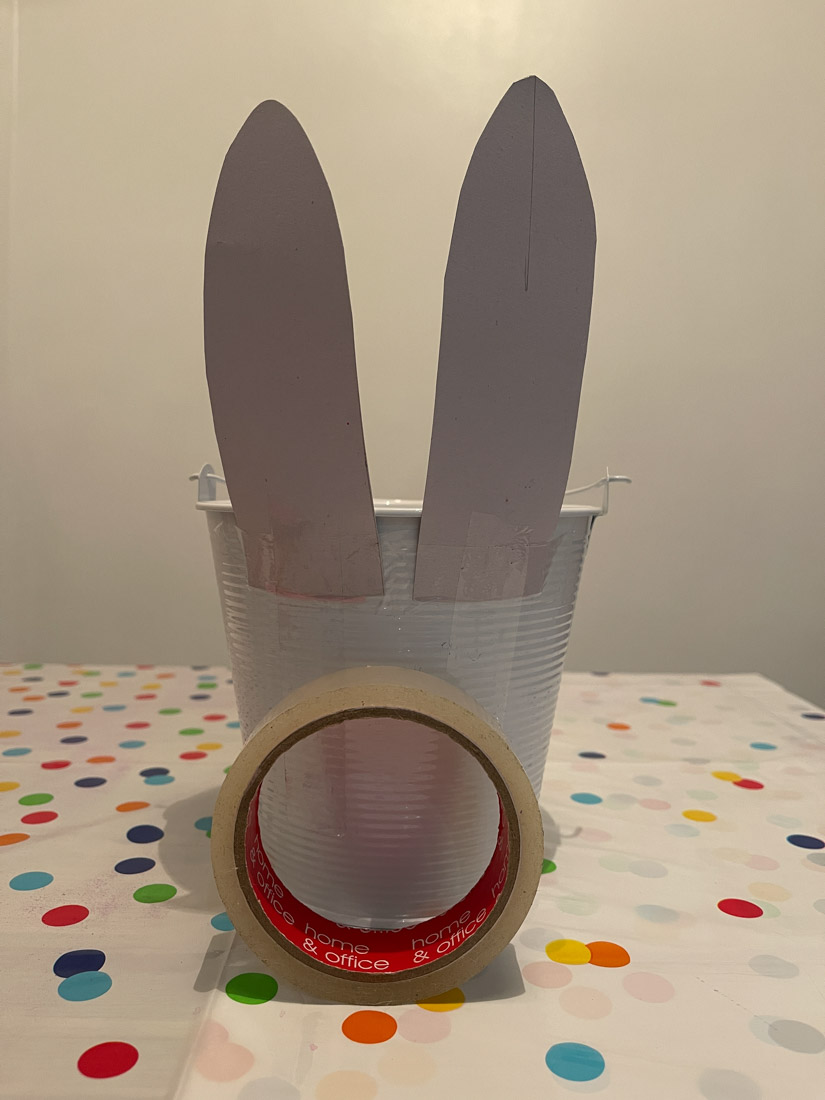
Place ear number one to the back of the bucket and tape along the top of the bucket, securing the ear in place.
Repeat with ear number two.
If you are happy with the placement, secure the ears with more tape running up and down the back of each ear.
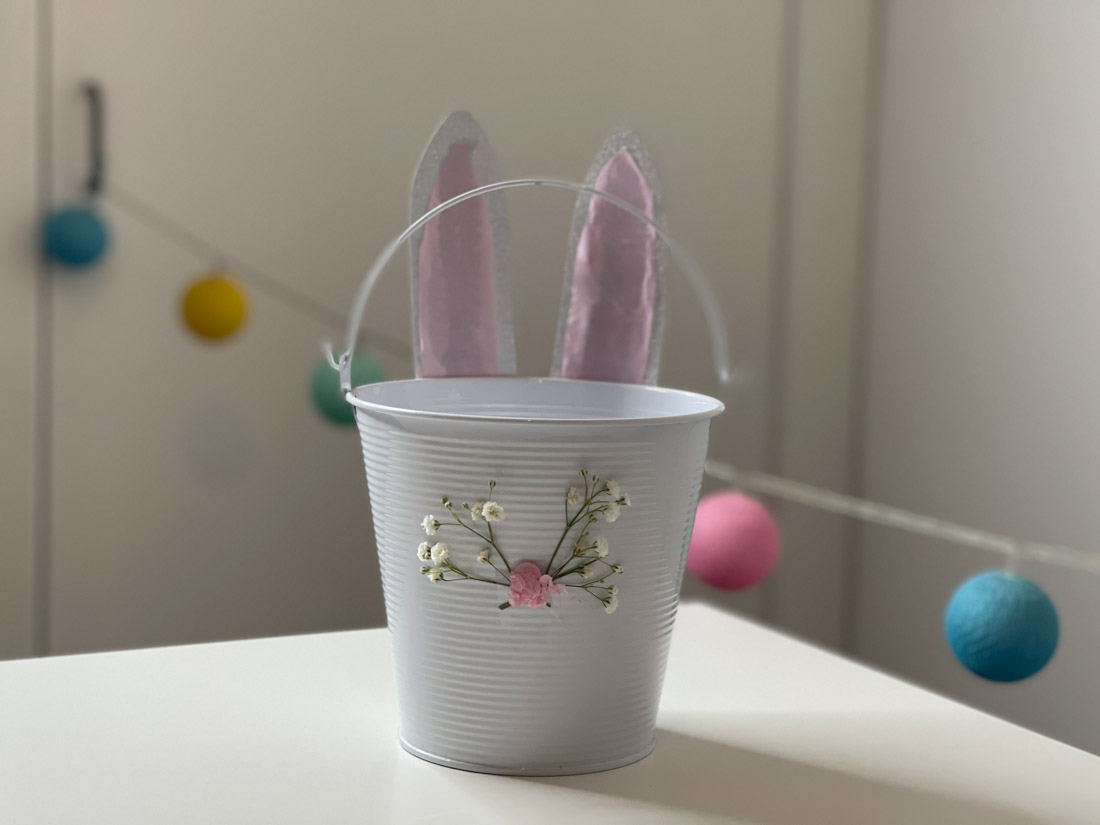
You might also want to add a bunny nose and whiskers!
How to Make a Bunny Nose
Scrunch up some tissue paper or cut out a pink triangle and putty/Blu Tack the nose on the front of the bucket.
We had Gypsophila/Baby’s Breath (one of my favorites) in a vase, so we taped some underneath the nose. You do not have to do this, of course.
If you are feeling extra, add a bowtie or feet!
Easter Bunny Basket Shopping List
- White or pale-colored bucket
- A4 card
- Tissue paper
- Scissor
- Glue
- Ruler
- Tape
- Putty/Blue Tack
- Pencil
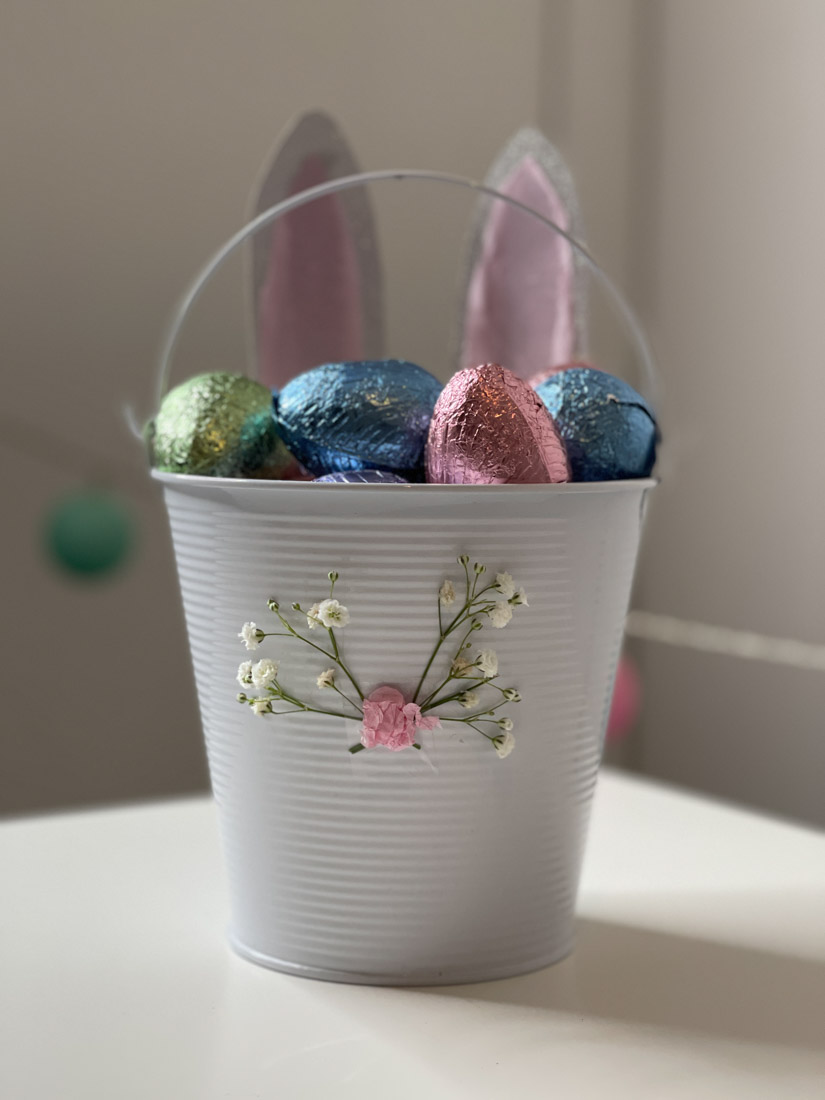
- Chocolate Easter eggs
- Chocolate Easter bunny
- Carrot shaped candy cones
- Or non-candy fillers = here are our ideas for gifts for tweens and teens
You may also like our post on Easter charcuterie boards including ideas for kids.
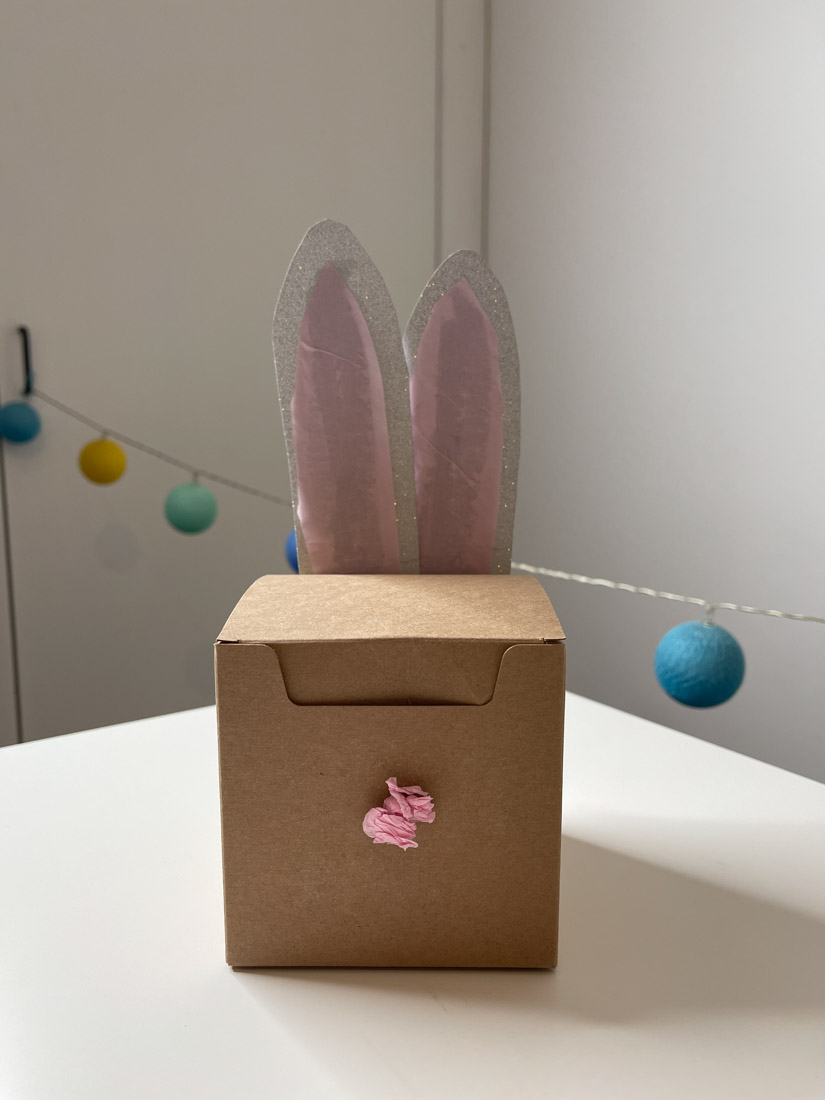
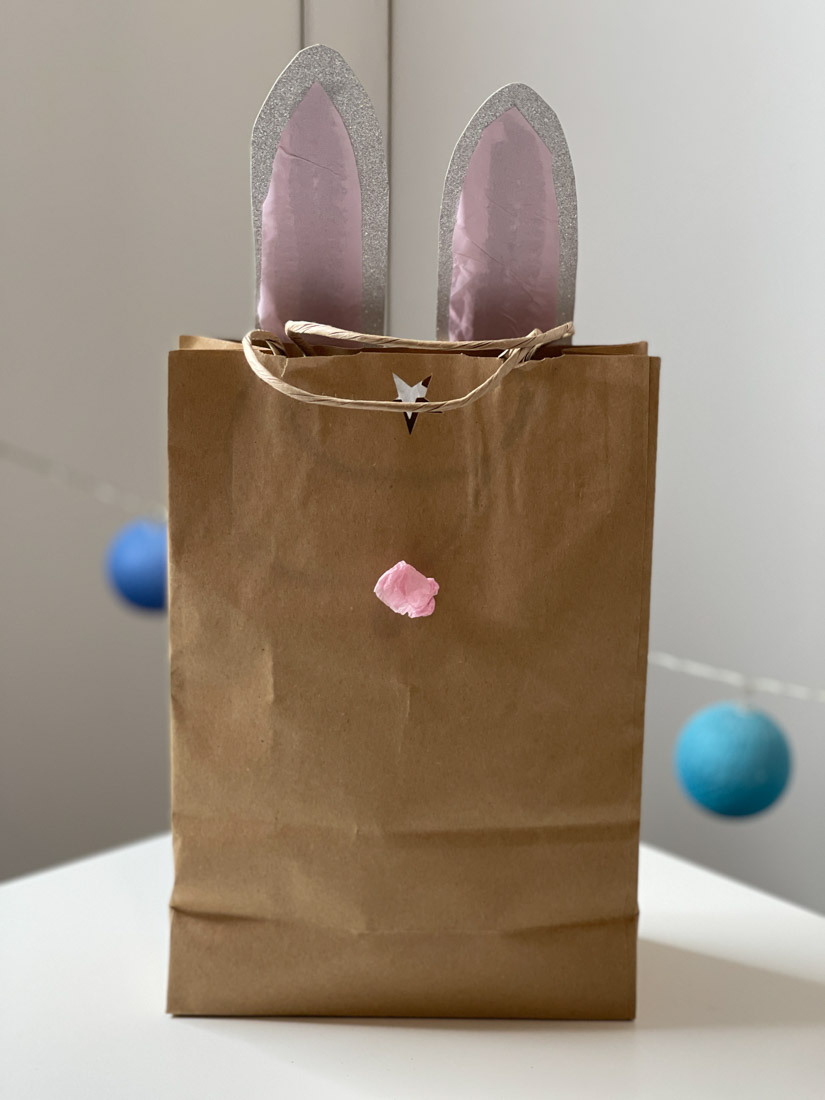
Easter Bunny Boxes and Bags
If you can’t get your hands on a bucket, no stress!
Use a box or paper bag instead and follow the same instructions as the bucket.
Save for later! Pin to your Easter crafts board

Any questions or comments?
Just leave them below and the team will get back to you.
